
Swordsman
After many times practicing on SFOTH, Swordsman is ready to slash enemies. Deals area damage.

Cost: 1000 Tix
This tower boasts a compact range but compensates with exceptional DPS, rapid attack speed, and an affordable cost. Its reliability and effectiveness make it a standout choice, holding its value consistently from early to late game. Undeniably, it reigns as the best tower in the game, providing unparalleled utility and performance in any strategy.
Upgrades
The top path is the definitive choice for this tower, offering unmatched value and utility. It is highly affordable, granting Hidden detection and Stun protection at a minimal cost. At the 4-X upgrade, it unlocks an additional poison effect that deals massive damage over time, particularly devastating against tanky enemies, dealing hundreds to thousands of damage as a secondary effect to its primary attacks. Remarkably, a 4-X Swordsman can outshine even a Heavy Gunner in raw DPS against the final boss. This path is often considered a win condition for challenging runs with specific modifiers, providing exceptional performance at a cost that remains competitive with other high-damage towers.
The bottom path focuses on boosting the Swordsman's DPS while introducing a burn effect to its attacks. However, its shortcomings overshadow its benefits. Lacking both Hidden detection and Stun protection, the tower is highly vulnerable to explosive units, as its short range ensures it will always be stunned when engaging them. While it theoretically deals higher DPS, this potential is rarely realized due to its inconsistency. Furthermore, the tankiest units in the game are camouflaged, making the lack of Hidden detection a critical flaw. Comparatively, the top path delivers far superior reliability, damage output, and versatility thanks to its poison effect and added utility, easily justifying its slightly higher cost. As a result, the bottom path is a poor investment and rarely worth considering in any strategic setup.
| Stat | Value |
|---|---|
| Base Cost | $300 |
| Base Damage | 6 |
| Base Cooldown | 1.25s |
| Base Range | 6 |
| Splash Radius | 1.25 |
| Max Hits | 4 |
| Hidden Detection | Level 3-X Level X-4 |

Quicker Swing
Effect:
- -0.2s Cooldown
Cost: $150
Longer Sword
Effect:
- +3 Damage
- +1 Range
- +0.25 Splash Radius
- +1 Max Hits
Cost: $475

Gladiator Gear
Effect:
- +11 Damage
- -0.25s Cooldown
- +1 Splash Radius
- +1 Max Hits
- +Hidden Detection
- +Passive Ability:
- Wooden Shield
Cost: $2000
Venomshank
Effect:
- +17 Damage
- -0.1s Cooldown
- +1 Range
- +0.5 Splash Radius
- +2 Max Hits
- +Passive Ability:
- Venomshank
- Gladiator Shield
- -Passive Ability:
- Wooden Shield
Cost: $9300

Sharper Sword
Effect:
- +2 Damage
Cost: $300
Wider Sword
Effect:
- +3 Damage
- +1 Splash Radius
Cost: $400

Charged Blade
Effect:
- +15 Damage
- -0.45s Cooldown
- +1 Range
- +0.5 Splash Radius
- +3 Max Hits
- +Passive Ability
- Charged Blade
- Armour I
Cost: $2500
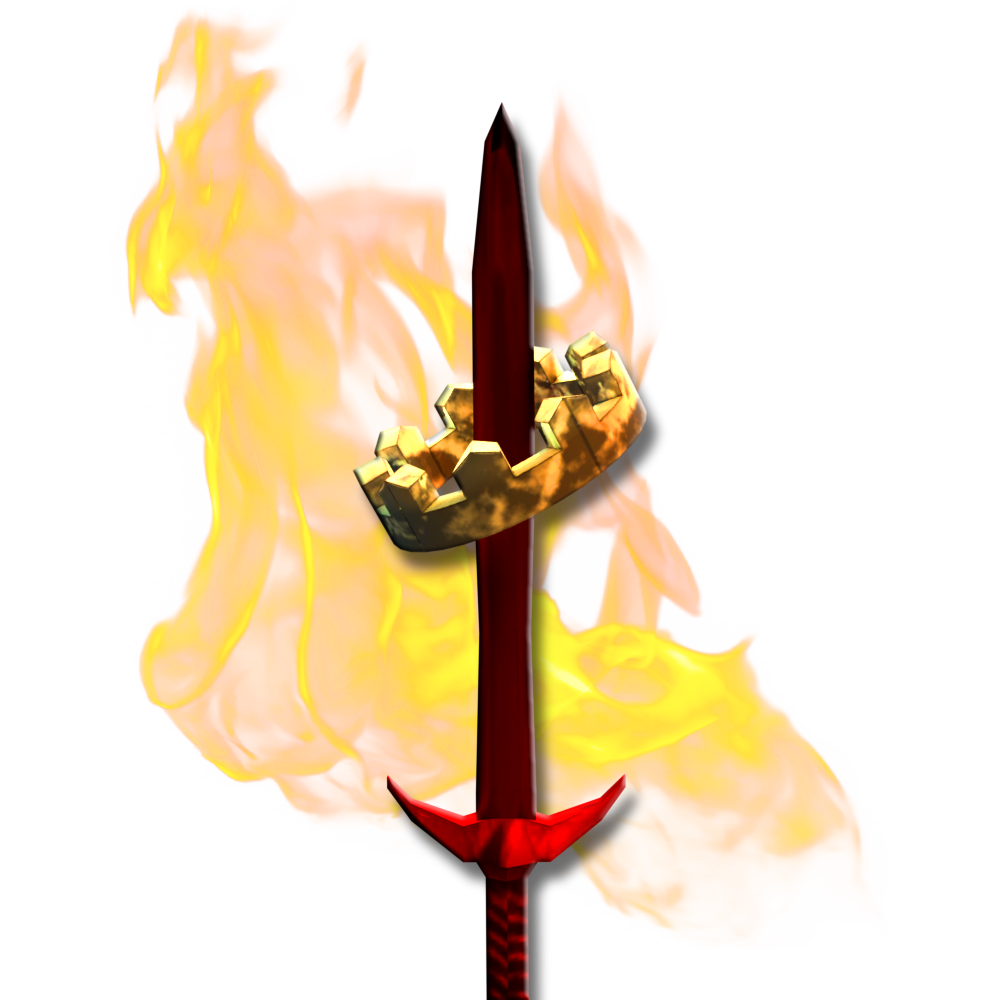
Firebrand
Effect:
- +18 Damage
- +1 Splash Radius
- +2 Max Hits
- +Hidden Detection
- +Burn Effect
- 20 DPS for 4s, effects do not stack.
- +Passive Ability
- Inflamed Blade
- Armour II
Cost: $15000
Stats Table
| Level | Cost | Damage | Cooldown | Range | Splash Radius | Max Hits | Hidden Detection |
|---|---|---|---|---|---|---|---|
| 0-0 | $300 | 6 | 1.25s | 6 | 1.25 | 4 | No |
| 1-0 | $450 | 6 | 1.05s | 6 | 1.25 | 4 | No |
| 2-0 | $925 | 9 | 1.05s | 7 | 1.5 | 5 | No |
| 3-0 | $2925 | 20 | 0.8s | 7 | 2.5 | 6 | Yes |
| 4-0 | $12225 | 37 | 0.7s | 8 | 3 | 8 | Yes |
| Level | Cost | Damage | Cooldown | Range | Splash Radius | Max Hits | Hidden Detection |
|---|---|---|---|---|---|---|---|
| 0-0 | $300 | 6 | 1.25s | 6 | 1.25 | 4 | No |
| 0-1 | $600 | 8 | 1.25s | 6 | 1.25 | 4 | No |
| 0-2 | $950 | 11 | 1.25s | 6 | 2.25 | 4 | No |
| 0-3 | $3450 | 26 | 0.8s | 7 | 2.75 | 7 | No |
| 0-4 | $18450 | 44 | 0.8 | 7 | 3.75 | 9 | Yes |
| Level | Cost | Damage | Cooldown | Range | Splash Radius | Max Hits | Hidden Detection |
|---|---|---|---|---|---|---|---|
| 0-0 | $300 | 6 | 1.25s | 6 | 1.25 | 4 | No |
| 1-1 | $750 | 8 | 1.05s | 6 | 1.25 | 4 | No |
| 2-2 | $1575 | 14 | 1.05s | 7 | 2.5 | 5 | No |
| 3-2 | $3575 | 25 | 0.8s | 7 | 3.5 | 6 | Yes |
| 4-2 | $12875 | 42 | 0.7s | 8 | 4 | 8 | Yes |
| Level | Cost | Damage | Cooldown | Range | Splash Radius | Max Hits | Hidden Detection |
|---|---|---|---|---|---|---|---|
| 0-0 | $300 | 6 | 1.25s | 6 | 1.25 | 4 | No |
| 1-1 | $750 | 8 | 1.05s | 6 | 1.25 | 4 | No |
| 2-2 | $1575 | 14 | 1.05s | 7 | 2.5 | 5 | No |
| 2-3 | $4075 | 29 | 0.6s | 8 | 3 | 8 | No |
| 2-4 | $19075 | 47 | 0.6s | 8 | 4 | 10 | Yes |
Unlocked at:
3-X
- 200 HP
- 25% Explosion Resistance
- Stuns are 50% less effective
- Regens after 180s

Unlocked at:
4-X
- Deals 2% of max HP for 4s.
- Non-Boss enemies get 1.5x more poison.
- Max damage: 2500
- Poison gets 10% weaker after each hit on enemy.
Unlocked at:
4-X
- 450 HP
- 30% Explosion Resistance
- 25% Bullet Resistance
- Stuns are 80% less effective
- Regens after 150s
Unlocked at:
X-3
- Gains +1 charge from every hit.
- Each charge increases splash radius by 0.03.
- Every 5 charge can block a stun.
- Resets after 10s of no attacking.
Unlocked at:
X-3
- 10% Resistance to Explosions.
- 20% Resistance to Bullets.

Unlocked at:
X-4
- Gains +2 charge from every hit.
- Each charge increases splash radius by 0.05.
- Each charge increases fire DPS by 0.3.
- Every 5 charge can block a stun.
- Resets after 15s of no attacking.
Unlocked at:
X-4
- 20% Resistance to Explosions.
- 35% Resistance to Bullets.

Unlocked at:
X-4
- Fire: 20 DPS for 4s
- DPS scales depending on charge value.