
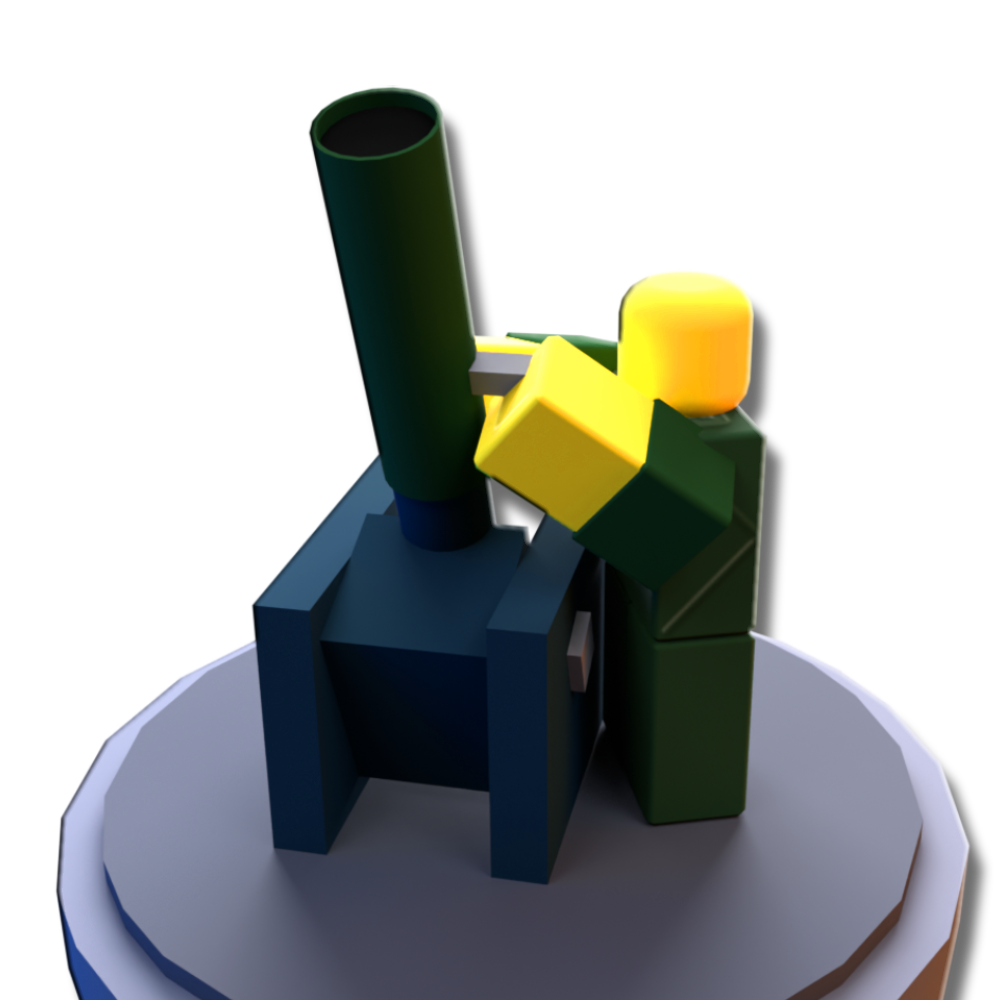
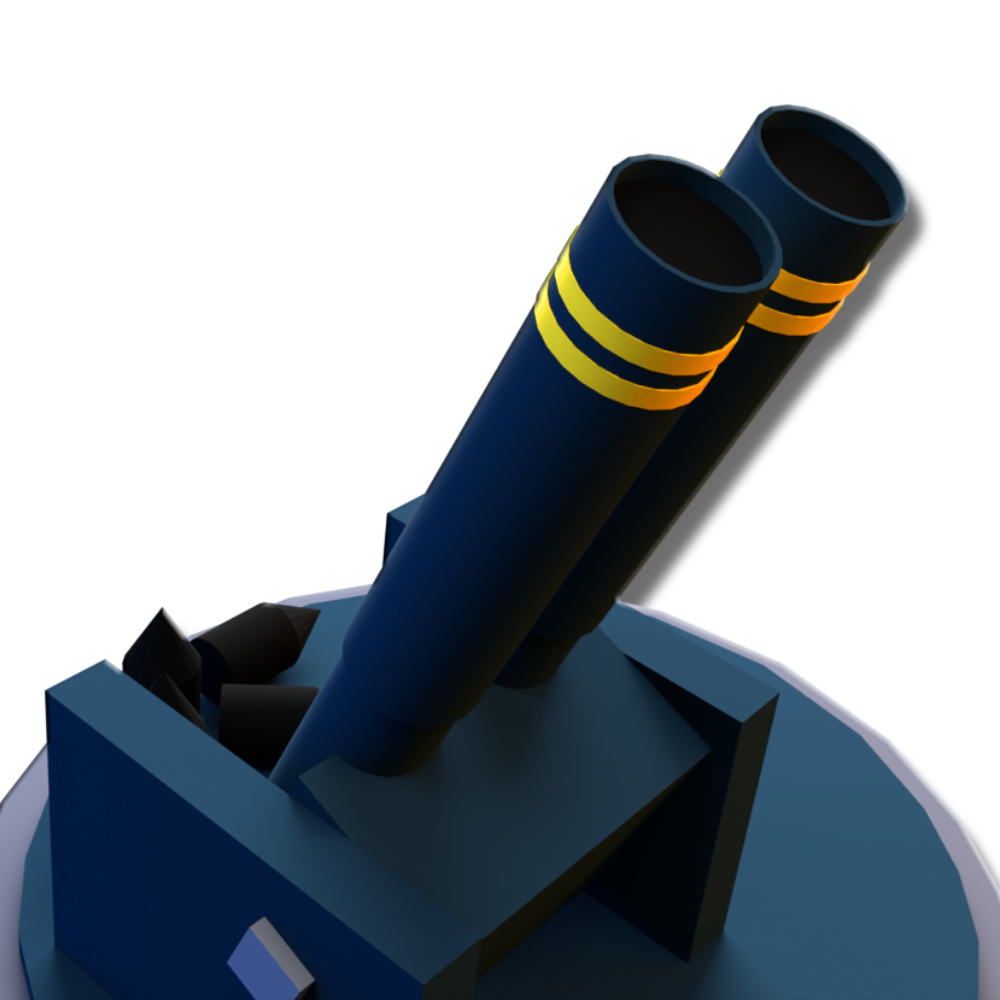
Mortar
Launches explosive shells with high splash radius and damage. Can ignite and stun enemies at max.
Cost: 2500 Tix
The Mortar is among the priciest towers in the game but compensates with powerful splash attacks and impressive range. Despite its strengths, it is hindered by several drawbacks, including placement restrictions limiting it to elevated areas, a slow attack speed, high cost, and an inability to detect Hidden units. While it excels at dealing massive area damage, its utility is heavily dependent on being paired with a 4-X Paintballer to address its lack of Hidden detection. Without this pairing, the Mortar struggles to justify its steep investment, making it a situational but impactful tower when used strategically.
Upgrades
The top path significantly enhances the tower, offering the highest range and damage along with a burn effect that increases in both effectiveness and duration as it is upgraded. However, this path comes with notable drawbacks, particularly its slow attack speed and high cost, making it the most expensive upgrade for the tower. It also ranks as the third most expensive upgrade in the game, with only the Heavy Gunner's upgrades surpassing it in price. While it delivers powerful damage and utility, the high cost and slow attack speed make it a challenging investment that requires careful consideration.
The bottom path provides modest increases to damage and range, but its real strength lies in its upgrades to cooldown reduction and burst firing capabilities, allowing the tower to shoot three shots at a time in rapid succession. This burst mechanic acts as a valuable fix for the tower's slow attack speed, significantly improving its overall reliability. However, this improvement comes at the cost of some damage output, as the burst fire mechanics reduce the individual shot damage. Despite this trade-off, the bottom path proves to be a more consistent and dependable option for handling waves, especially when high attack speed is crucial.
| Stat | Value |
|---|---|
| Base Cost | $2000 |
| Base Damage | 50 |
| Base Cooldown | 6s |
| Base Range | 20 |
| Splash Radius | 5 |
| Hidden Detection | N/A |
Faster Hands
Effect:
- -0.3s Cooldown
- +2 Range
Cost: $300

Bigger Shells
Effect:
- +30 Damage
- +3 Range
- +1 Splash Radius
Cost: $1500
Flammable Shells
Effect:
- +80 Damage
- +0.1s Cooldown
- +4 Range
- +1 Splash Radius
- +Burn Effect
- Burns for 3s with 6dps. Effects do not stack.
Cost: $5600

The Big One
Effect:
- +340 Damage
- +1s Cooldown
- +11 Range
- +3 Splash Radius
- +Burn Effect
- Burns for 8s with 15dps. Effects do not stack.
Cost: $14500

Longer Barrel
Effect:
- +5 Range
Cost: $300
Heavy Shells
Effect:
- +30 Damage
Cost: $1000
Dual Destroyers
Effect:
- +10 Damage
- -1s Cooldown
- +3 Range
- +Burst Fire
- Fires 2 shells per burst.
Cost: $8100
Make it Rain
Effect:
- +30 Damage
- -2.2s Cooldown
- +2 Range
- +1 Splash Radius
- +Burst Fire
- Fires 3 shells per burst.
Cost: $10500
Stats Table
| Level | Cost | Damage | Cooldown | Range | Splash Damage |
|---|---|---|---|---|---|
| 0-0 | $2000 | 50 | 6s | 20 | 5 |
| 1-0 | $2300 | 50 | 5.7s | 22 | 5 |
| 2-0 | $3800 | 80 | 5.7s | 25 | 6 |
| 3-0 | $9400 | 160 | 5.8s | 29 | 7 |
| 4-0 | $23900 | 500 | 6.8s | 40 | 10 |
| Level | Cost | Damage | Cooldown | Range | Splash Damage |
|---|---|---|---|---|---|
| 0-0 | $2000 | 50 | 6s | 20 | 5 |
| 0-1 | $2300 | 50 | 6s | 25 | 5 |
| 0-2 | $3300 | 80 | 6s | 25 | 5 |
| 0-3 | $11400 | 90 | 5s | 28 | 5 |
| 0-4 | $21900 | 120 | 2.8s | 30 | 6 |
| Level | Cost | Damage | Cooldown | Range | Splash Damage |
|---|---|---|---|---|---|
| 0-0 | $2000 | 50 | 6s | 20 | 5 |
| 1-1 | $2600 | 50 | 5.7s | 27 | 5 |
| 2-2 | $5100 | 110 | 5.7s | 30 | 6 |
| 3-2 | $10700 | 190 | 5.8s | 34 | 7 |
| 4-2 | $25200 | 530 | 6.8s | 45 | 10 |
| Level | Cost | Damage | Cooldown | Range | Splash Damage |
|---|---|---|---|---|---|
| 0-0 | $2000 | 50 | 6s | 20 | 5 |
| 1-1 | $2600 | 50 | 5.7s | 27 | 5 |
| 2-2 | $5100 | 110 | 5.7s | 30 | 6 |
| 2-3 | $13200 | 120 | 4.7s | 33 | 6 |
| 2-4 | $23700 | 150 | 2.5s | 35 | 7 |